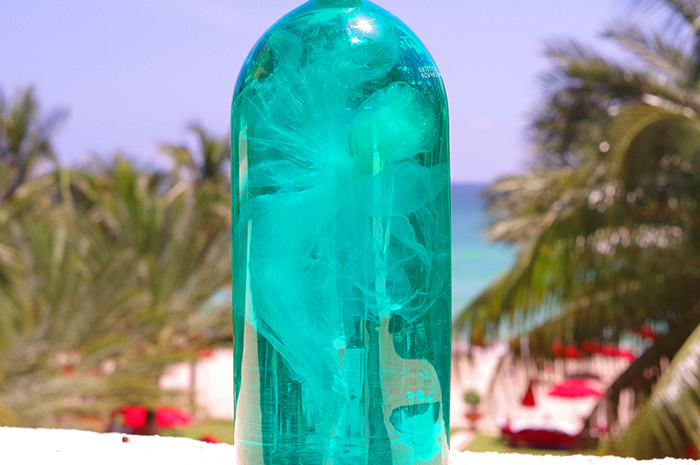
Acqualina’s marine biology-inspired children’s program, AcquaMarine, is renowned for its fun and innovative, hands-on activities that all revolve around the ocean and its magical creatures.
In an effort to recreate life under the sea, Ashley, our creative camp counselor with a knack for arts and crafts, came up with an imaginative way for kids to visualize the peculiar movement of a jellyfish under water, using only recycled materials.
She’s shared step-by-step instructions below so you your children can create at home.
Materials Needed:

- 1 clear plastic shopping bag
- 1 liter plastic bottle
- Scissors
- Clear string or thread
- Blue food coloring
- Water
Instructions:
1. Flatten the grocery bag and cut off the handle and bottom part of the bag

2. Cut along both sides of the plastic bag to split it into two plastic sheets (you will need only one of the sheets)

3. Gather the plastic bag at the center and fold it like a tiny balloon to make the jellyfish’s head and loosely tie it with a thread. Be sure not to tie this too tight as you will need to fill the head with water later.

4. One you’ve secured the head the remaining part of the plastic sheet will become the jellyfish’s tentacles. Cut from the edge up to the head to make small strips for tentacles

5. Fill the jellyfish’s head with water filling it half way so that it can sink, but still has enough air to float in the water bottle

6. Fill your water bottle then put the jellyfish in the bottle along with a few drops of blue food coloring

7. Screw on the cap and shake the bottle lightly.

8. Enjoy!

